Note: Setup has two parts — (1) connecting it to the Lucidic Dashboard (below), and (2) installing LucidicAI in your code.
Getting Started in the Dashboard
Before you can track your agent’s sessions in code, you’ll need to set up your environment in the Lucidic web dashboard.1. Create an Account or Sign In
Go to dashboard.lucidic.ai and sign in:- Use Google login or
- Create an account with your email + password
2. Create a Project
Projects are high-level containers for your work — usually one per app, workflow, or team.- Click “Create Project”
- Name it something meaningful (e.g.
wikipedia-agent,finetuning-dashboard, etc.)
3. Create an Agent
Inside your project:- Click ”+ Agent”
- Provide a name and choose an icon
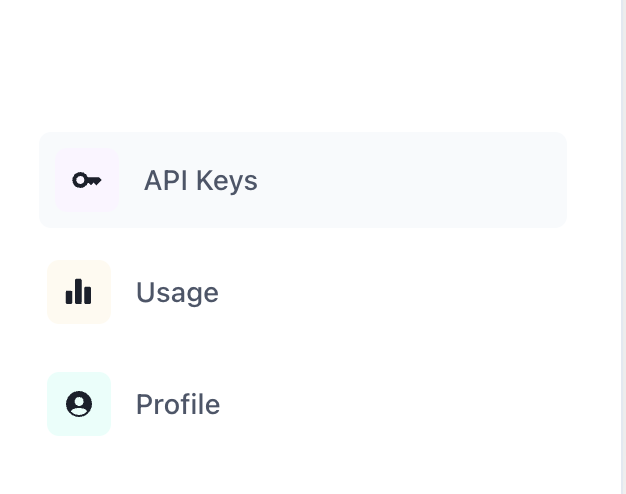
4. Generate an API Key
You’ll need an API key to authenticate your SDK.- Go to the “API Keys” icon in the bottom left corner in the side bar
- Click “Create API Key”
- Copy the key somewhere safe - you won’t be able to see it again!
5. Plug Into Python
Once you’ve got:- API Key
- Agent ID
6. (Optional) Create a Mass Simulation
If you want to run many sessions as part of a single evaluation:- Go to the “Mass Sims” tab inside your Agent
- Click “New Mass Simulation” on the top right of the table
- Copy the Mass Sim ID into your SDK: